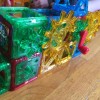
This was a fun and wonderfully messy pumpkin to make for Halloween!
Crayon melting wasn’t exactly what I expected it to be, it kind of spits and splatters rather than drips. Let me tell you how we did this one.
Needed:
Pumpkin (We used a fake one)
Crayon
Tacky Glue
Hair Dryer

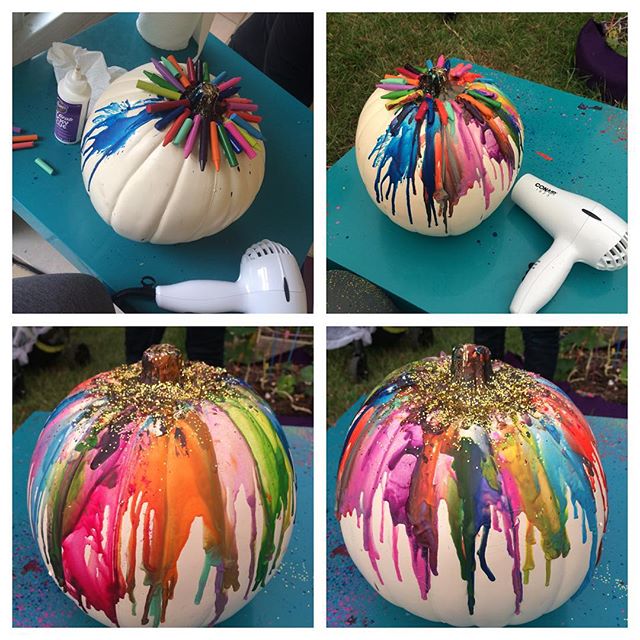
I tried to glue crayons and jump right into melting them. It is best to glue the crayons and let them dry for a few hours. Full crayons didn’t glue well, they would tip off before the glue could hold. Breaking crayons in half helped to solve this issue.
We started this project inside but quickly learned that the crayons spray and spit rather than just melt down. Before I knew it the floor was getting colored in hot wax, as was anyone sitting too close.
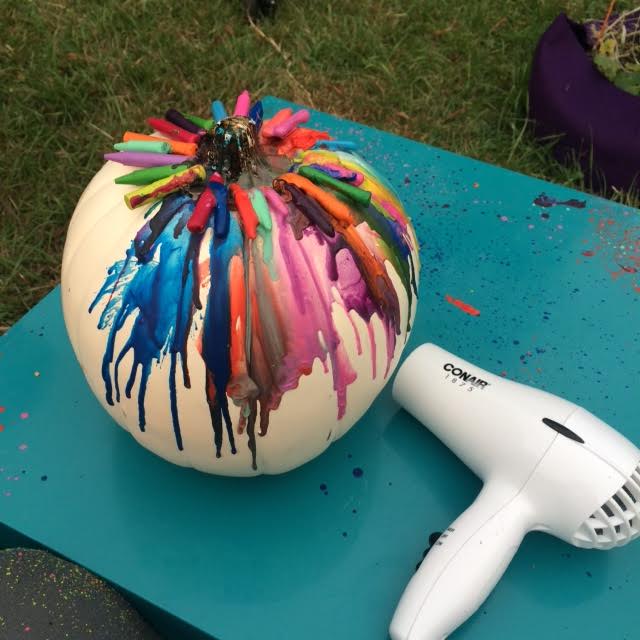
We moved this project outside and had fun melting the crayons and seeing what colors they make. I can say that chances are a pool of wax will form at the top and make “mud” and I am not sure how that could be avoided. I managed to deal with it by adding glitter to the top!
Melting takes longer than I expected, if it wasn’t for the time involved we would have made another pumpkin like this and went with the rainbow layout to try and avoid muddy colors on the pumpkin.
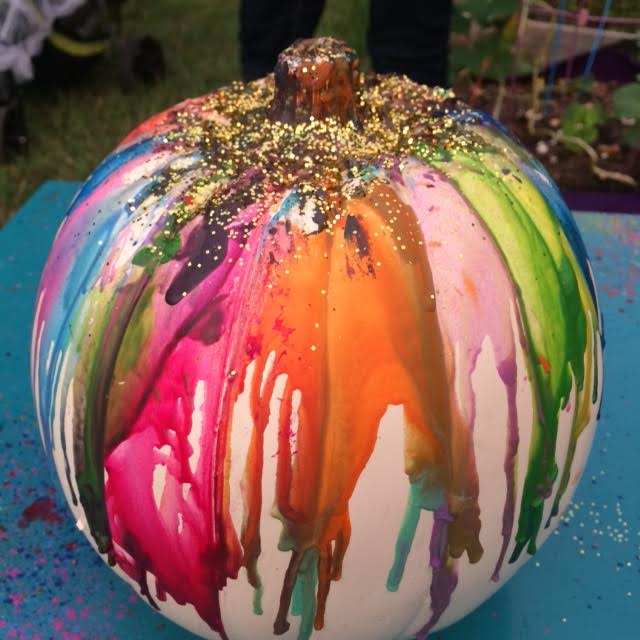
Over all we love the pumpkin and find it beautiful. The kids though the project was very interesting and loved seeing how the colors reacted to one another and how the colored the table and even my pants.
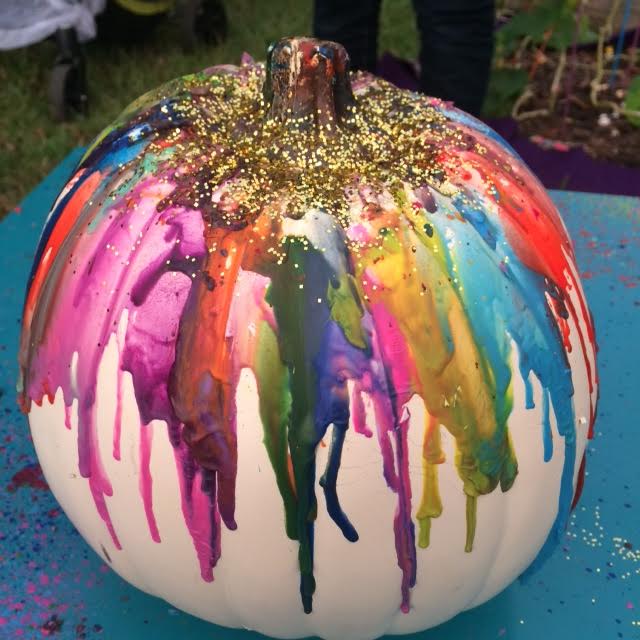
When placing crayons consider what colors they will make when melted together.
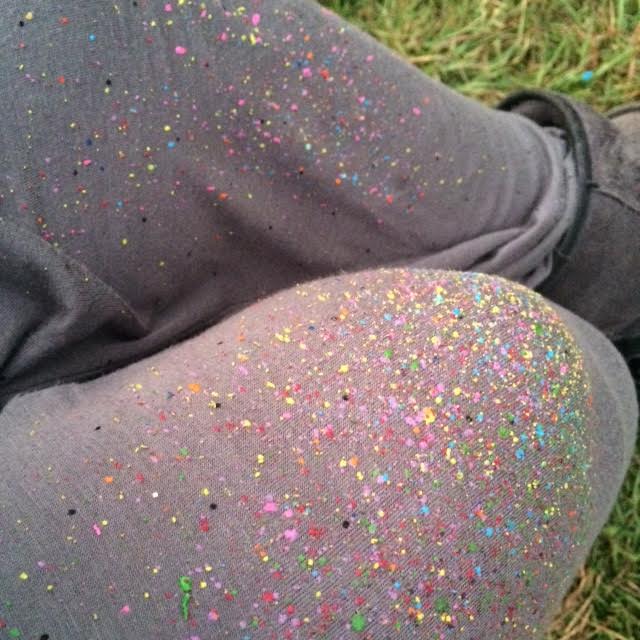
Lastly, wear something you don’t mind getting spattered with crayon. My lounge around the house pants certainly got colorful!
Wishing you a lot of messy fun and a wonderful Halloween!